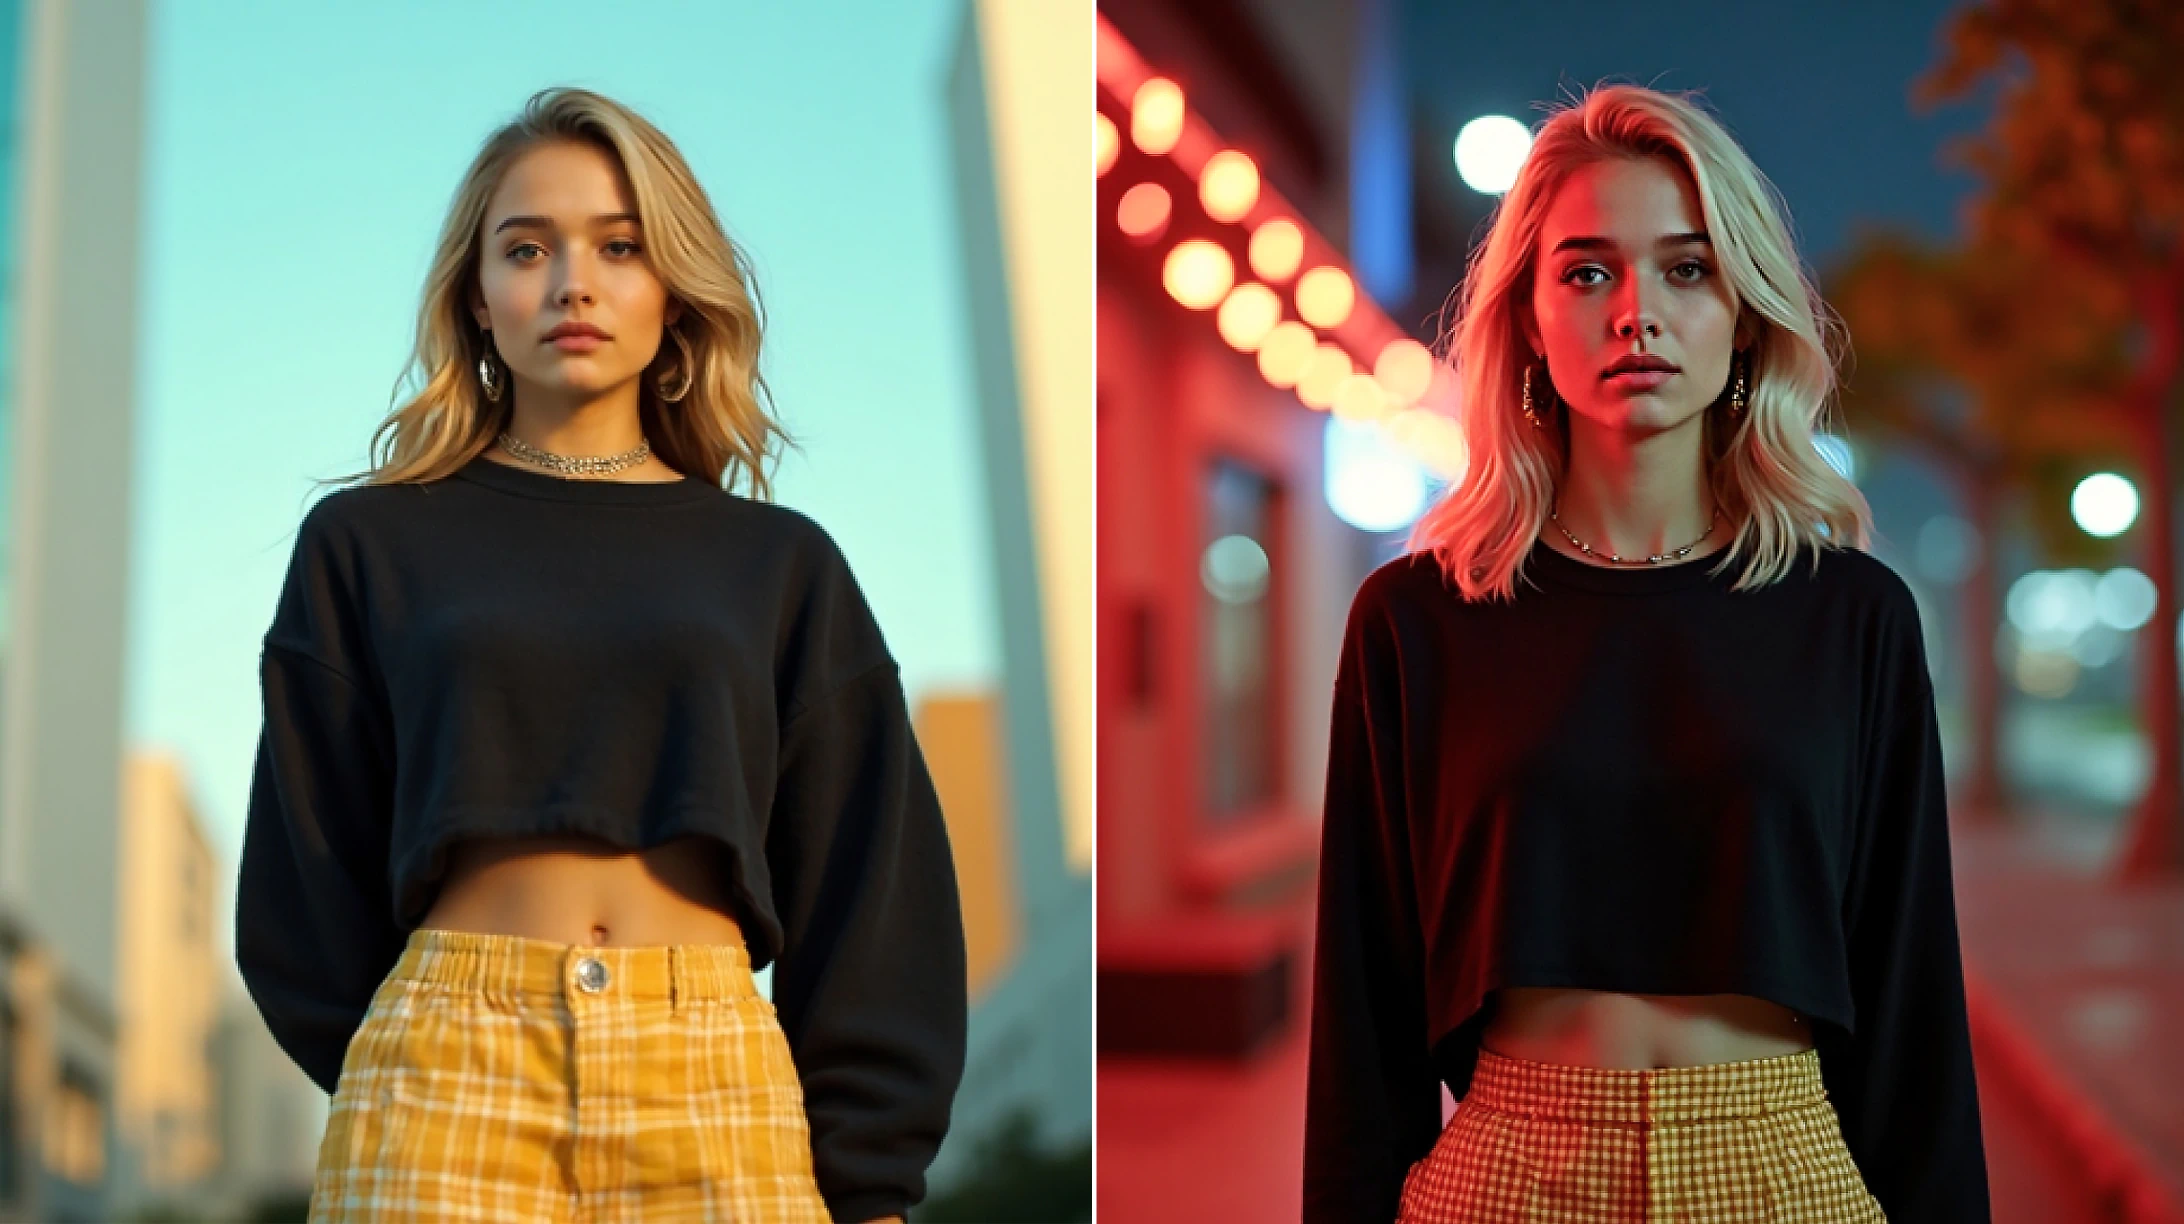

In storytelling, the right setting can transform any video into a truly immersive experience. With LTX Studio, you can define every detail of your location, lighting, and weather, or let AI enhance your scene for added realism. This guide will show you how to create dynamic environments and override specific shots to elevate your projects.
Creating the Perfect Scene
Once you’ve done the initial setup for your story and have a storyboard to work with, it’s time to dive into the details and elevate your narrative. From the storyboard screen, you can add in additional scenes, as well as adjust the location of existing scenes, but we’ll get to that shortly.
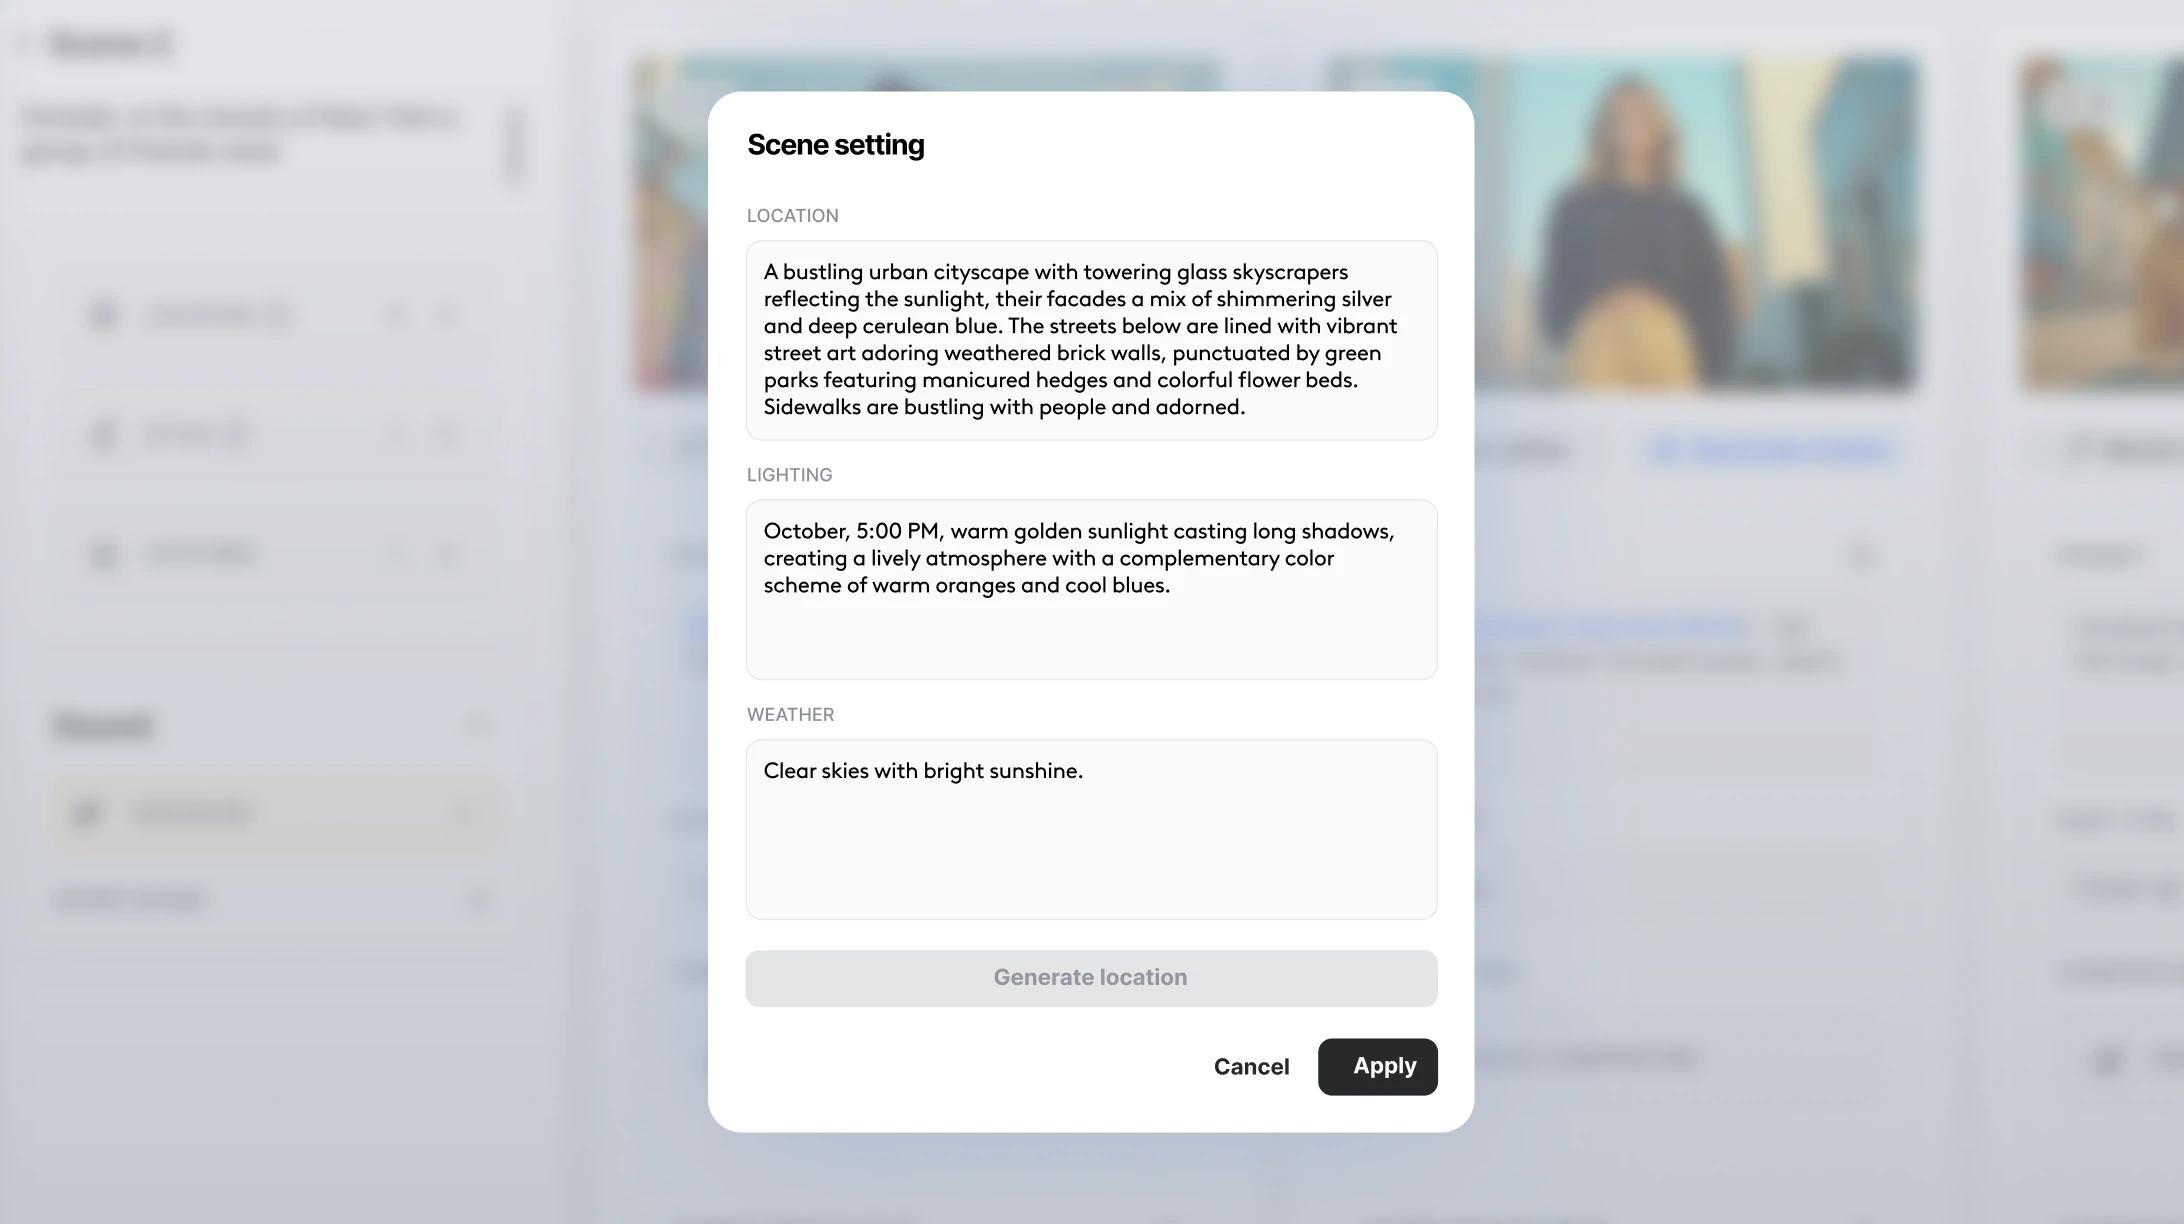
Let’s start by adding a new scene and defining the location from scratch. You can add additional scenes by clicking on the small plus button at the bottom of the storyboard, or using the plus that appears if you hover between scenes. Once you’ve got a blank scene, click on “Location” found within the scene settings on the lefthand side of your screen. Here you’ll find three text boxes aptly named “Location,” “Lighting,” and “Weather.” Type in as little, or as much, as you’d like here and click “Create location.” You may find that the AI will add in a few suggestions to your prompt. You can delete, add, and edit as you see fit until the prompt matches your exact vision. Once you’re happy with the descriptions, click apply and you’ll be taken back to the storyboard view. If you don’t see any visuals immediately, that’s okay! This is a new scene and you’ll need to add in a prompt either in the “Scene description” or directly in the first frame of your new scene. Once you start typing, your visuals should start to generate.
Keep in mind that the more detailed you are in your prompts, the better your results will be. For example, rather than typing a simple location like ‘city,’ try something like ‘Modern urban street with skyscrapers in bright daylight and a clear blue sky.’ Be as creative as you’d like in your descriptions, down to the exact season, month, day, or even time of day.
Enhancing Your Location
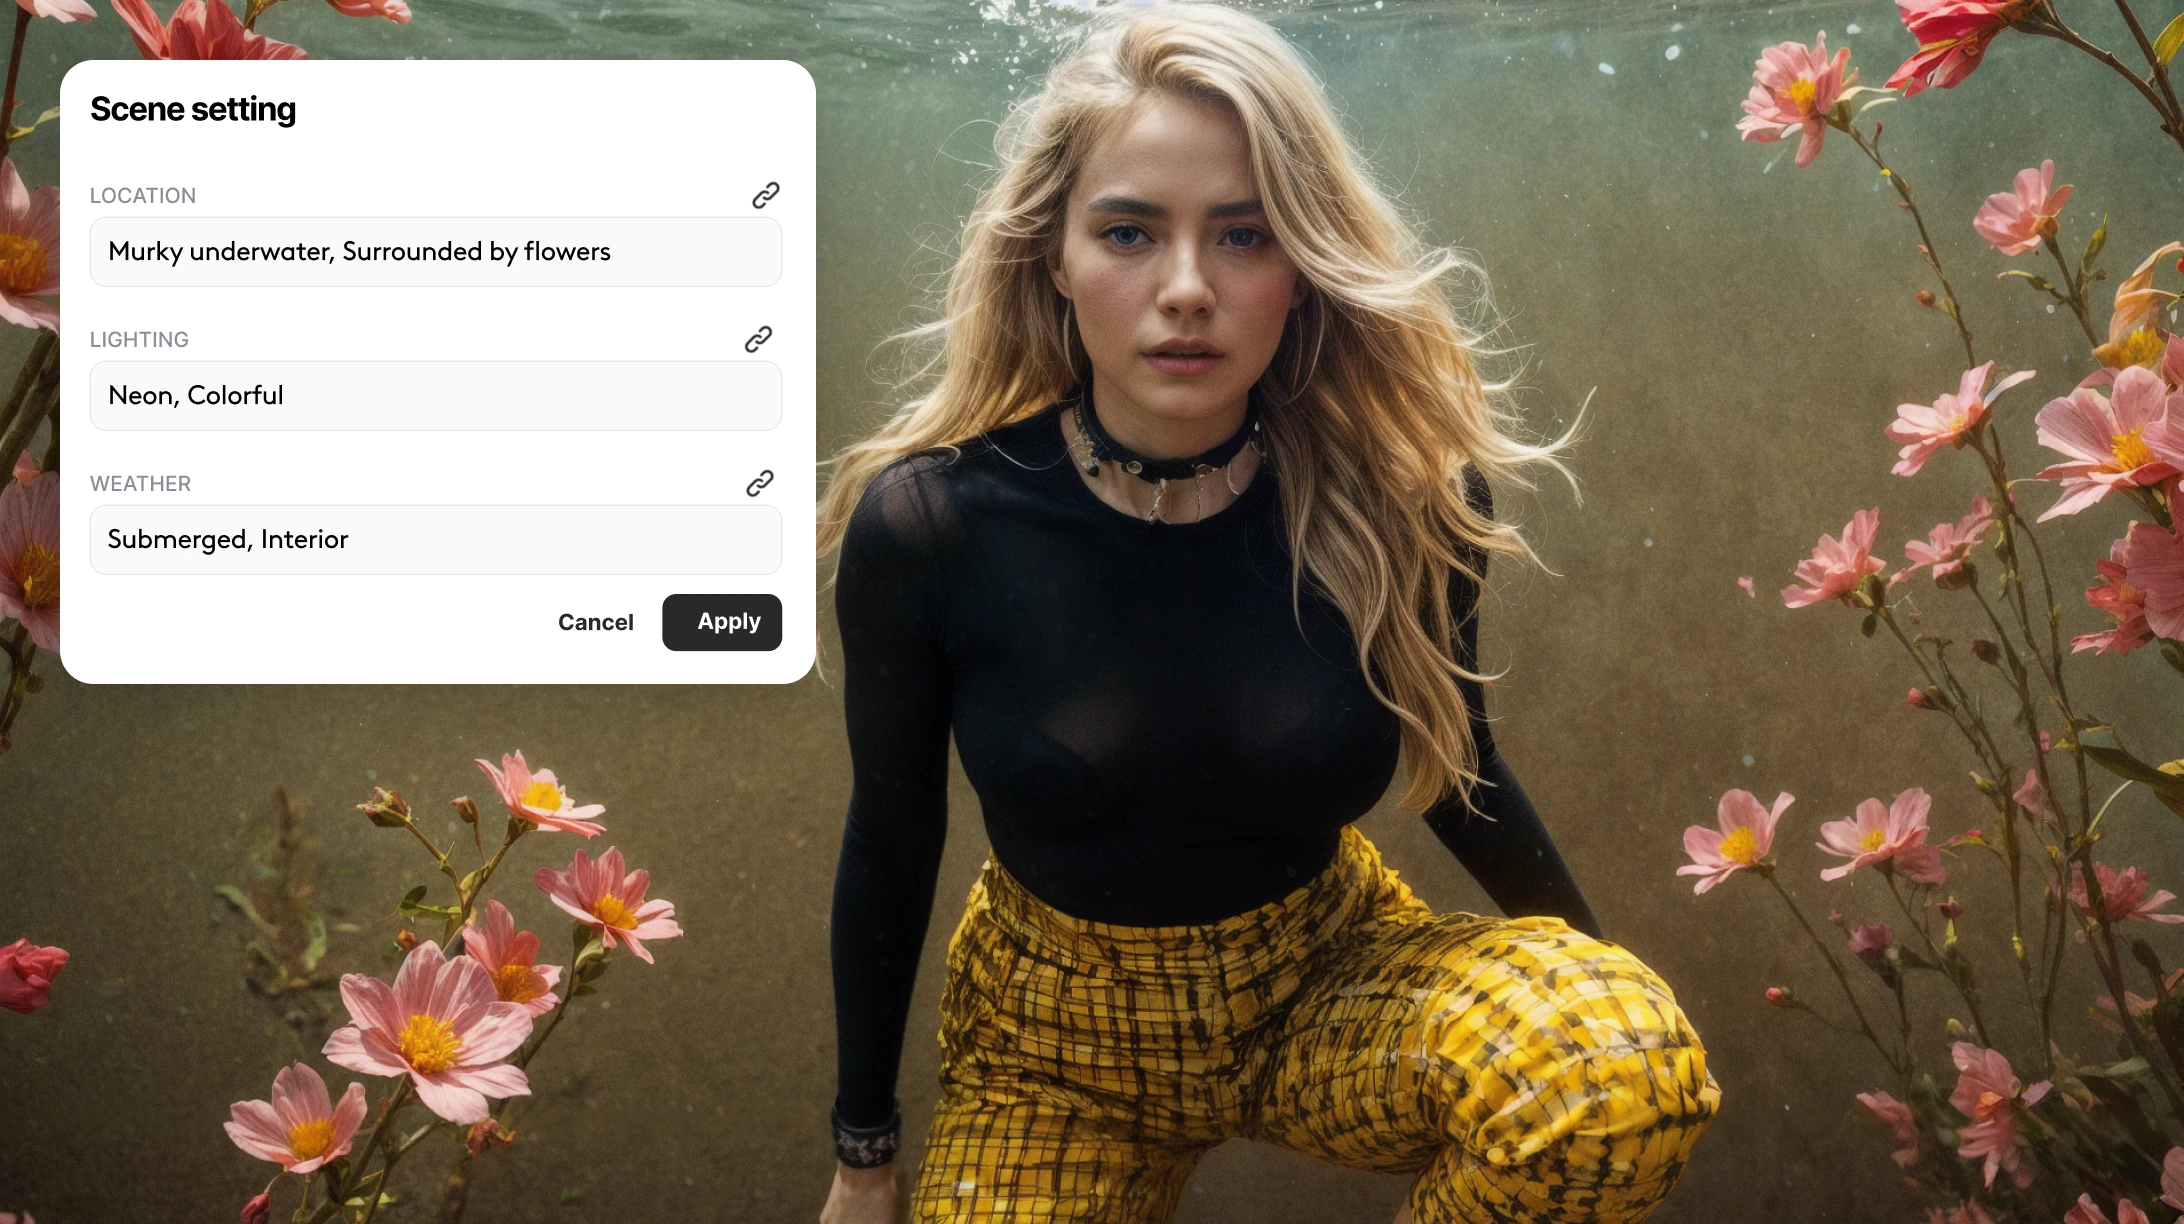
Now let’s explore enhancing the location of existing scenes. Similarly to the flow outlined above, while in the Storyboard view, click on “Location” within the scene settings on the left. Here you’ll see the text boxes complete with prompts based on your initial text from the project initiation. You can edit and update as you see fit, then click on “Enhance location” for even more nuanced elements like extra textures, shadows, and environmental details. As always, you can keep the enhanced version or stick to your original prompt—whatever fits your story best.

Customizing Individual Shots
Sometimes, a single shot needs its own unique setting. With LTX Studio, you can easily override scene settings for any shot, making it easy for you to experiment with your project. Imagine a sequence where your character moves seamlessly from a bustling urban street to a serene desert landscape—LTX Studio handles the transitions effortlessly.
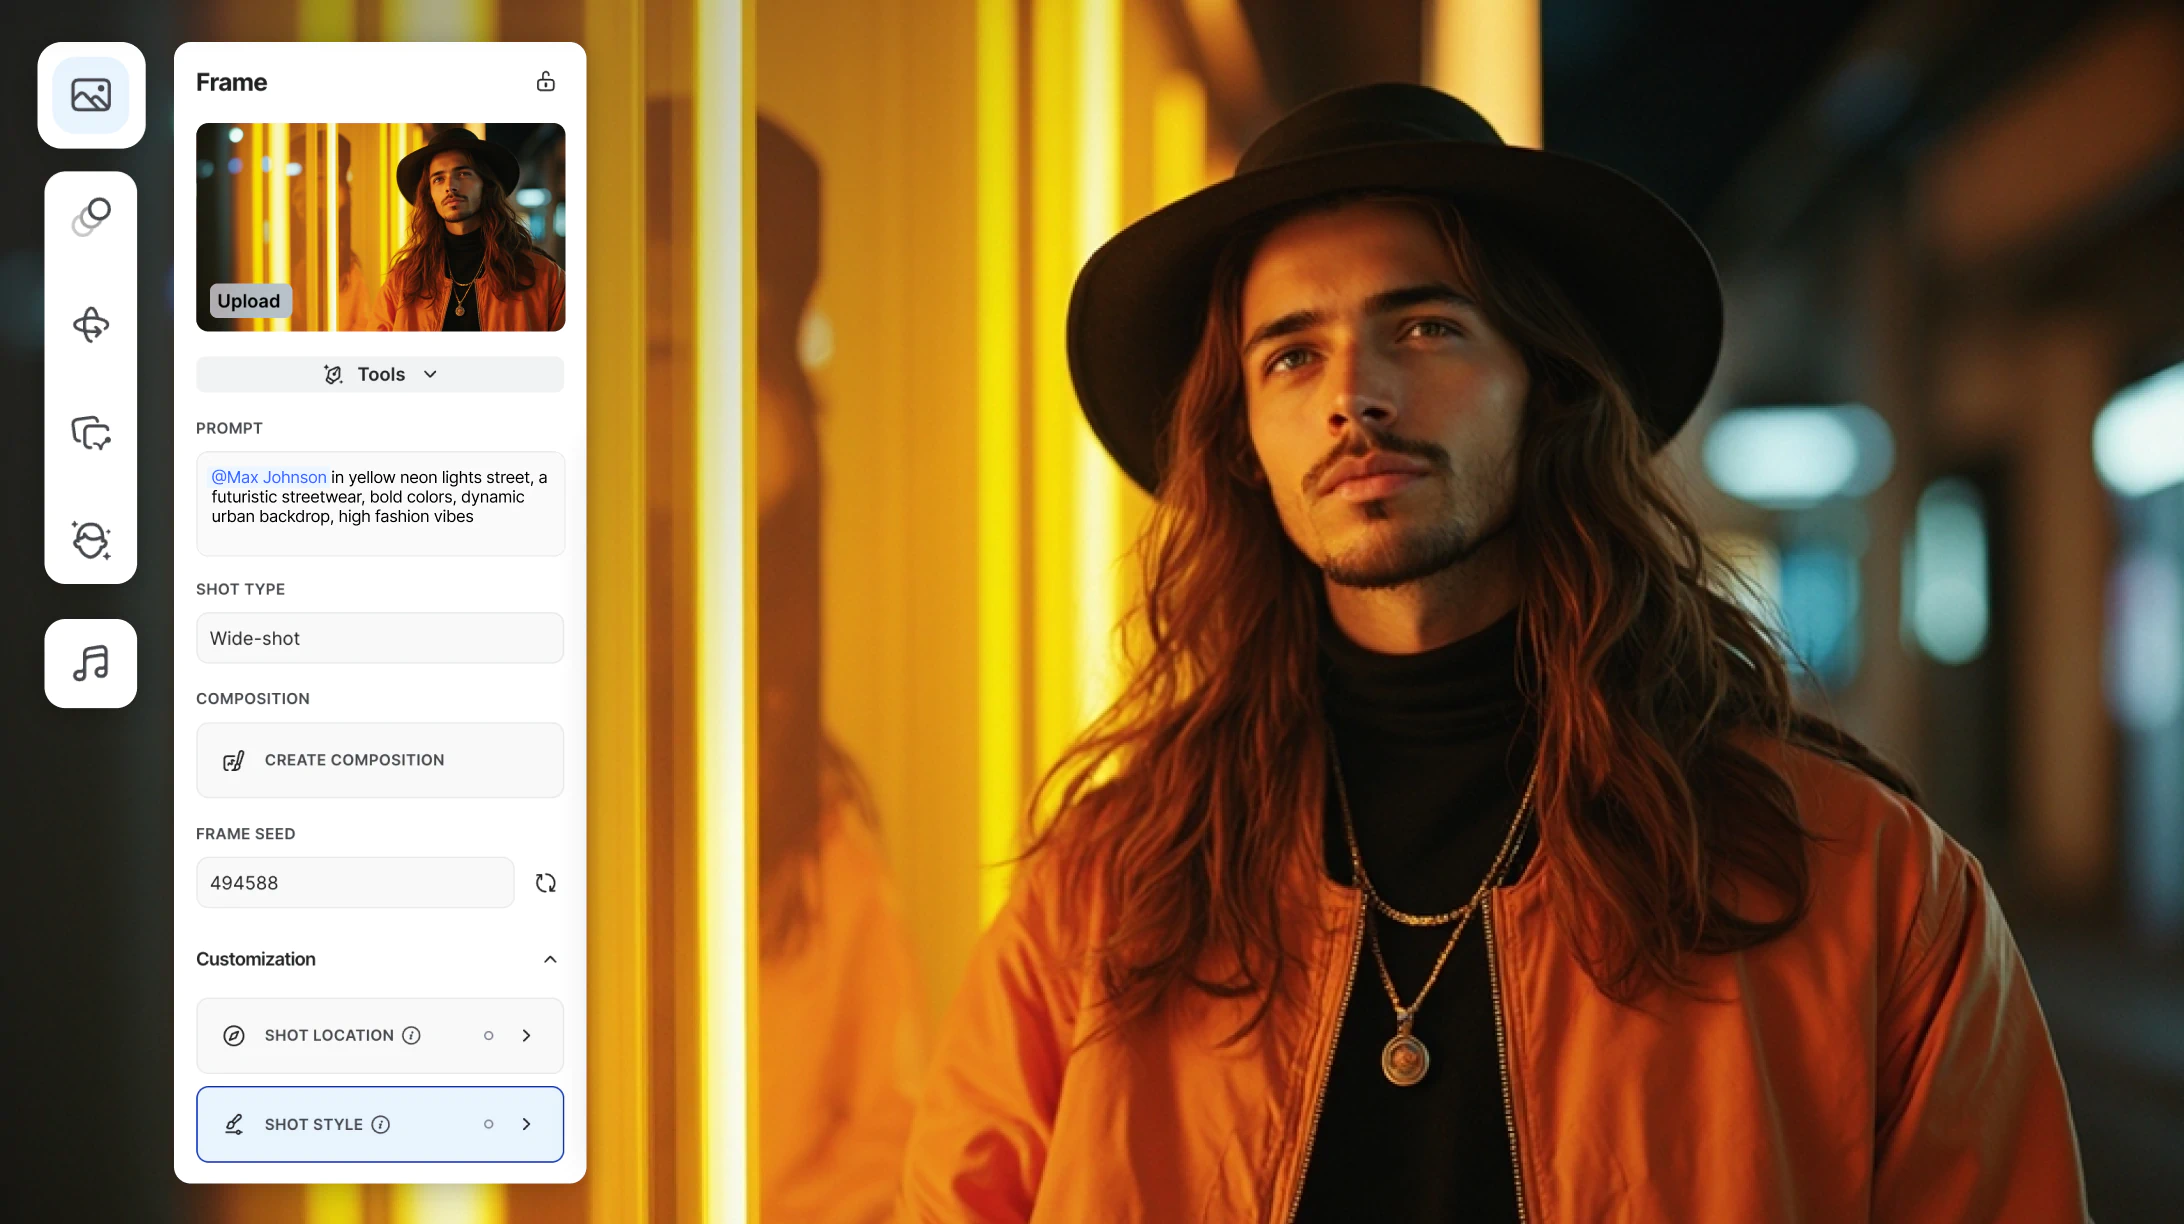
Test it out by first duplicating the shot with the location you’d like to change. With the duplicate, go into the Motion Editor. Here you can adjust the shot location by clicking “Shot location” on the lefthand side of the screen. For example, if your main story takes place in a city, perhaps you want one shot to be set in a desert. Try using a prompt such as “Sandy desert, rolling dunes, harsh midday sun, clear skies, with a rising haze from the heat.” Once you’ve updated the location, lighting, and weather, click apply. Keep in mind that depending on the overall prompt for this shot, you may need to make small adjustments to ensure your shot prompt and location prompts are aligned.
Once you’re happy with your updates, you can continue editing in the Storyboard tab. If, for some reason, you’re not happy with the changes you’ve made, don’t worry! Simply delete the duplicated shot and you’ll be left with your original storyboard.
Final Touches
Remember, it's all about the details. The right prompt can bring every scene or shot to life, transforming your project into a visually stunning story. With LTX Studio, you're in total control of your settings, lighting, and weather, one click at a time. Whether you're crafting an indie film or producing commercial content, LTX Studio puts professional-grade virtual production tools at your fingertips.
Related posts

Location, Lighting & Weather FAQs
How do you set locations in LTX Studio?
Add a new scene by clicking the plus button, click "Location" in scene settings, fill in the Location, Lighting, and Weather text boxes with detailed descriptions, click "Create location" to generate AI suggestions, edit as needed, click apply, and add a scene description or frame prompt to generate visuals with your specified settings.
How do you enhance existing scene locations?
From the Storyboard view, click "Location" within scene settings, edit the text boxes with your updated prompts for location, lighting, and weather, then click "Enhance location" for more nuanced elements like extra textures, shadows, and environmental details. You can keep the enhanced version or stick to your original prompt.
Can you customize individual shot locations differently from the scene?
Yes, duplicate the shot you want to change, go into the Motion Editor, click "Shot location" on the left side, update location, lighting, and weather prompts (like changing from city to desert), and click apply. This allows seamless transitions where characters move between different environments within the same sequence.